Let’s face it – today’s world is full of video. From social media and marketing to even job interviews nowadays, video permeates everything. In this article, I will go over how to make better videos with what you already have! No added equipment needed 🙂 Here are 5 simple steps to maximize the content that you want to create using whatever you have, and at the end I’ll give recommendations for equipment you can get to elevate your content further.
1.) Camera & Positioning
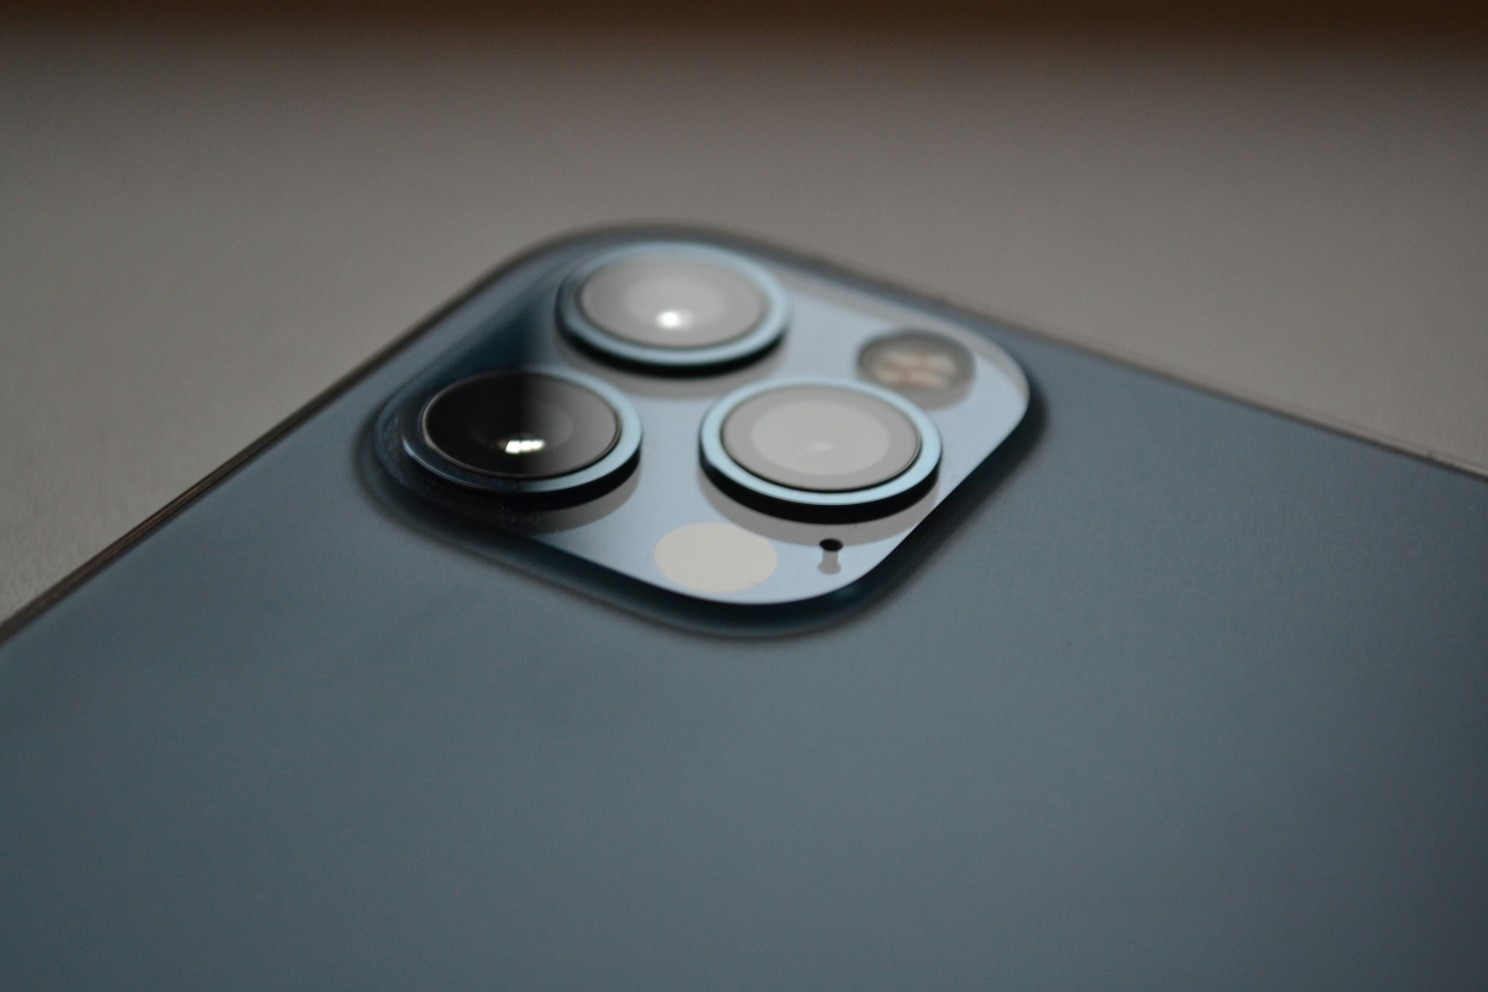
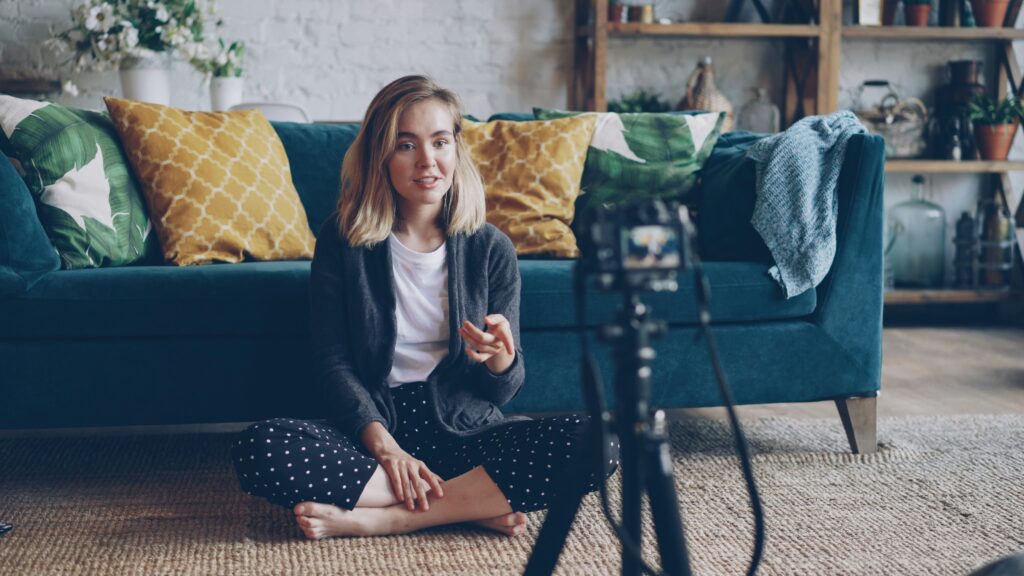
One of the most important parts of making your content look good is how you use and position the camera. If using a phone, use the rear camera if at all possible. You can use a mirror to see the phone screen, or if necessary you can get a selfie monitor, allowing you to see what the camera sees. The rear cameras of your phone are always going to be better than the front camera, which is usually much smaller and lower quality.
Now, let’s talk about positioning. For the most versatile content, it’s best to have your camera at eye-level with you. This will give your videos a ‘natural, direct’ feel to them to let you directly engage with your viewers. However, each camera position ‘feels’ a little different. Let’s demonstrate what each camera position does:
- Eye-Level: Natural, direct, engaging; as if you’re talking to a friend or peer. This can make the viewer feel more drawn into your video.

- Above Eye-Level (Looking down): Dynamic, interesting, lets the viewer ‘look in’ to a day in the life, great for if you make lifestyle content. It pins the viewer as an observer, not directly involved in the video
- Below Eye-Level (Looking up): Authoritative, powerful, makes the viewer feel like they are smaller, great for videos giving advice or showing that you’re in control.

There is no ‘best angle.’ It’s all dependent on what you’re trying to achieve, but keeping these in mind will help you choose what angle is best for you. If you don’t have a tripod, you can use shelves, tables, counters, or anywhere you can wedge your phone or camera into to get the shot. I’ve used pickle jars, fireplace mantles, and everything in-between to get the look that I wanted, so don’t feel discouraged if you don’t have the tools you think you need. As they say, where there’s a will, there’s a way!
2.) Lighting
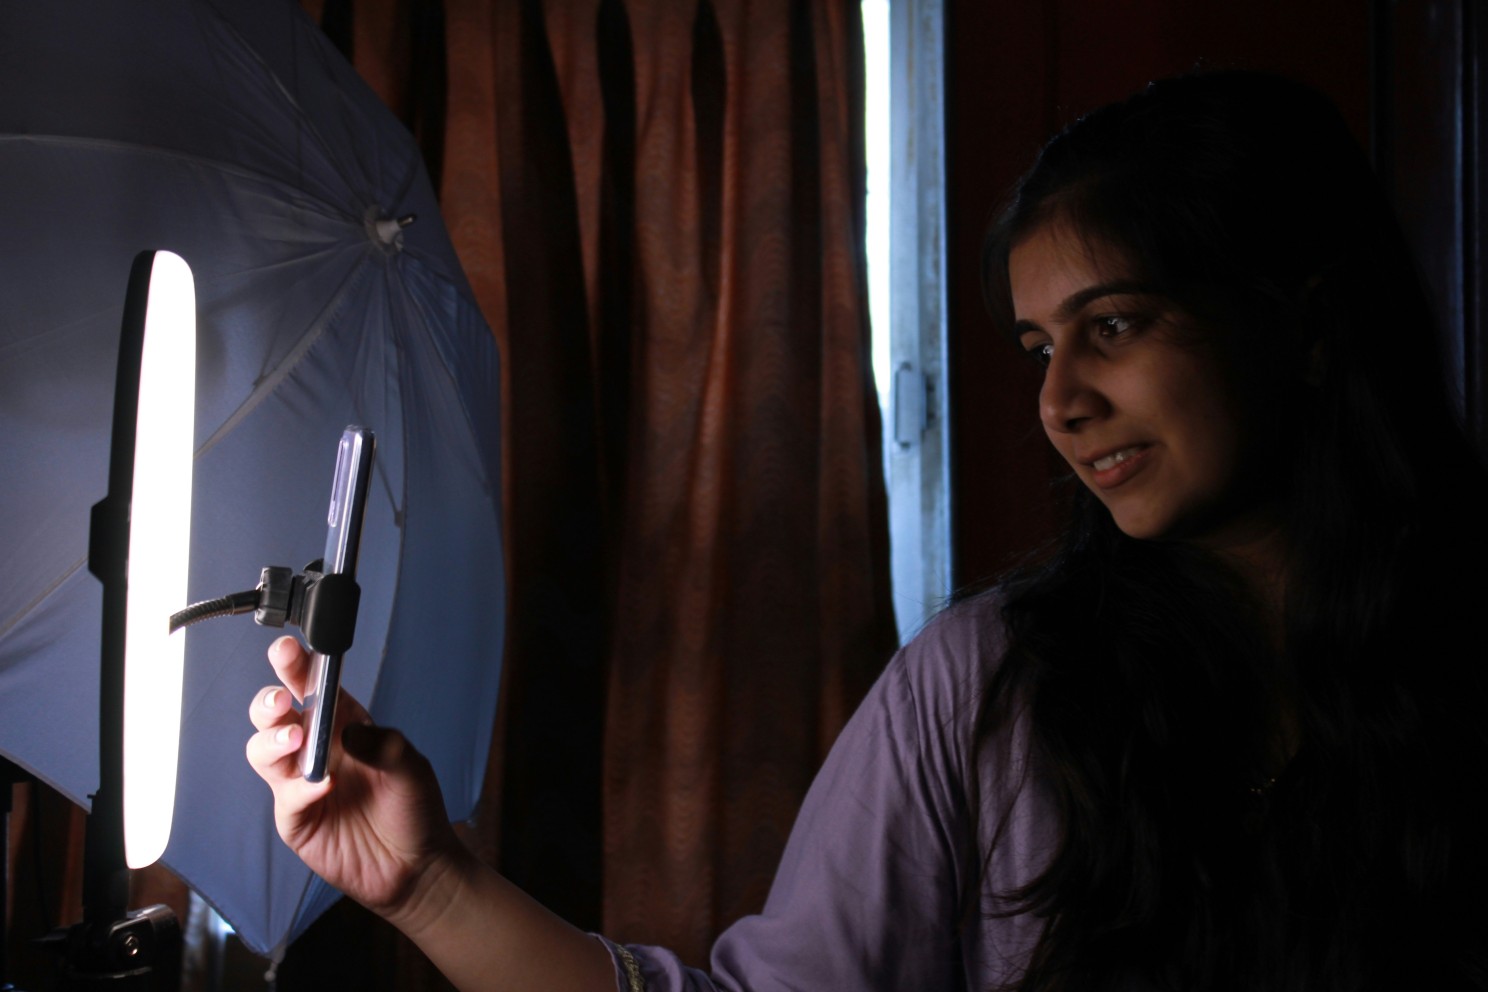
This is where most people think they need to buy equipment. It can certainly be helpful to have a ring light or something similar to light your video, however it isn’t absolutely necessary. If you have a room with a window, you’ve got all the light you need!
I see a lot of videos where the subject is lit from directly in front of them, which gives a flat and uninteresting appearance. Using the window example, position yourself a couple feet away from the window where the window is just slightly to the right or left of you (depending on what is most convenient & looks best to you). This should light you where one side of your face gets a bit more light than the other, making the light wrap around you in a dynamic and pleasant way. If you have a ring light or other video light, try doing the same thing, just with the light. Play around with different lighting scenarios, turn all of the lights off in the room and just light yourself with the window, try different things to figure out what you like best! You can even take a light and a window and light yourself differently from two or three sides to create a really dynamic look! (I’ll write another article later delving deeper into this subject)
3.) Sound
Sound is arguably the most difficult part to get right in video. It’s the only place I bend my rule of ‘you don’t need equipment to make a good video’ because a cheap wireless microphone can make your content so much better and sound much clearer. That being said, let’s talk about how to get your videos to sound good without any extra equipment
- First, and most importantly, turn off everything that you possibly can that makes noise. Camera and phone microphones are very sensitive to noise and will pick up on your fan or tv and distract from the content you’re trying to create
- Second, get as close to the camera as you can without ruining your video, the closer you are, the better your voice will sound
- Lastly, many editing programs will have a noise reducer in them. Use it to your advantage! There is usually a happy medium between sounding weird and a noisy video, play around with it until your audio still sounds natural but has less noise in it.
4.) Editing

A good edit can make or break your video. The best content creators and video producers use some form of editing program. This lets you take all of your footage, cut the best parts, and add interest with music, creative edits/cuts, and add in multiple videos and audio clips into the same video. There are many free editing programs out there, from simpler apps like CapCut to more complex programs like Davinci Resolve. As a full-time video producer, I started with the free version of Davinci Resolve and eventually graduated to the studio (paid) version.
If you just make content for fun or need to make a job interview video, something like CapCut will serve you perfectly. If you want to get more professional, eventually buy equipment and see yourself going further down the video production pipeline, I would highly recommend giving Davinci Resolve a try. That being said, it’s all up to you and what you like. There are so many programs out there that can make great videos, so give different ones a try! See what you like best, see what makes the most sense to you.
I’ll make another article at a later date going over editing techniques, so if you’re just beginning, start by taking your video and figuring out how to cut off the awkward pauses at the beginning and end, and cutting out parts where you messed up or tripped over your words. This will immediately raise the quality of your video and it will be easier to keep people engaged.
5.) Content
Finally, depending on what you’re making a video for, the content you make will change drastically. There aren’t any hard and fast rules about video that are all encompassing, but here are some tips to keep in mind:
- Job Interviews: Sometimes you will have a virtual meeting or a potential employer will ask you to film a video to introduce yourself. In these types of videos, make sure you are in a well-lit, quiet room. Use the tips from above to position your camera, I’d recommend eye-level, put it on a tripod or something sturdy that won’t fall. Position yourself next to a bright window and dress professionally. If you have the ability to edit this video, feel free to do multiple takes. You don’t have to perfectly record everything in one take. Focus on bullet points and get through a single idea. Later, you can cut everything together seamlessly.
- Social Media Videos: In a sea of content, you want to make yours stand out. Just like you’ve been told since elementary school essays – start with a hook. Engage the viewer from the start and use creative editing and fun camera angles to keep their attention. (For example, a GRWM or Day in the life, put the camera above you to show off your outfit or room, use quick cuts and upbeat music to keep it engaging and entertaining)
- Educational / Advice Videos: Similar to the Job Interview video, you want to come off as professional, as trustworthy, so light yourself well and position the camera at or below eye-level to draw in the viewers and present yourself as an authoritative/trusted person.
As you get more comfortable making videos, you can experiment with more complex shots, lighting, and editing styles, but this article should give you a basic idea of how to get started! If you’re local to Southern Michigan and have bigger video needs that you feel out of your element on, we’re always here to help! From education to video production, we’re proud to call on our 10+ years of video production experience to help you!
Equipment
Now that we’ve gone over how to make a great video with what you already have, let’s talk about equipment you can get when you have the budget for it, or once you’ve outgrown your current setup. I’m going to give my personal recommendations for the order and type of equipment to get, so know that everyone is different and this is solely how I would do it.
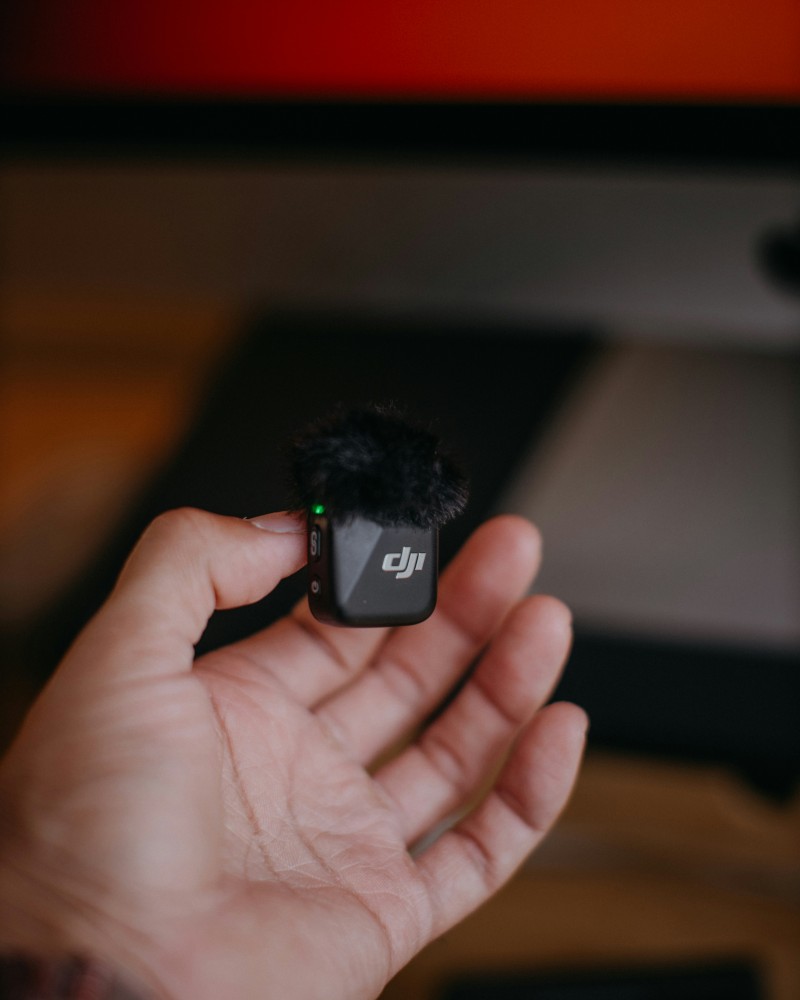
Start with audio, get something like this DJI Wireless Mic Kit, it’s inexpensive and from a trusted brand. This will help you get a good sound in your videos, and will plug right into your phone! After that, I’d recommend a video light that can help on non-sunny days or when you want to amp up your lighting. You can get this Two Pack Video Light Kit that will help you brighten things up and make your content look better. Adding these two things when filming with your phone will make your quality skyrocket!
From there, you can continue to get better microphones or lighting, and if you want to really start making professional content, you’ll want to get a dedicated camera. I would recommend using your phone until you’re able to afford something like the Sony ZV-E10 where you can get different lenses for and create content that you wouldn’t normally be able to using your phone.
Conclusion
Video certainly isn’t easy, but if you take what you learned in this article, you will be on a path to success! Start by thinking about your camera positioning, where you can put it to achieve your desired look, think about where windows are and where natural light is coming from to take advantage of, and finally make it as quiet as you can and be as close to the microphone as possible to make it sound good. From there, you’re well on your way to making a great video.
Your first few videos might not be exactly what you want, but as you learn and try and create new and different things, you will get better and better at making interesting videos for whatever the purpose!
Good luck to you, and create without limits!

Derik Keeslar is the Owner & Founder of Northlight Film Co in Jackson, Michigan. He is an award-winning film producer and sound designer with over a decade of exerience! Visit www.northlightfilm.co for more information.
As an Amazon Associate I earn from qualifying purchases. If you follow a link in this article, I may earn a small commission from your purchases at no additional cost to you.